
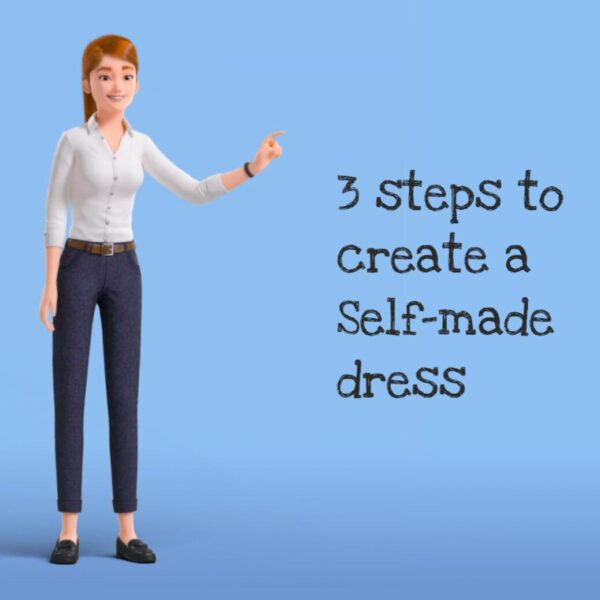
Create a self-made dress simply in 3 steps.
If you are new to Dress & Design, you need to have an account registered. It is free.
To create a self-made garment, first choose your Dress Model to copy.
* Select your dress length and design options, if any. Most of the options and addons are free.
* Add your chosen Model to your cart.
This is the creative part where you need to imagine how your chosen dress model will look like with your chosen fabric.
* Each dress model product page indicates the fabric with which the model in the picture was made with, e.g. “Fabric used in the picture: Mousseline 1”.
* You can choose another fabric. Each dress model product page also indicates the suitable fabric types and, in some cases, the suitable colors. If you want to be sure to have a similar look like in the picture, choose the same type of fabrics, e.g. “Mousseline”.
* If applicable, choose lining and other options. All options are free.
* Most of the fabrics like satin, cotton etc. are free. Other luxurious fabrics like brocade, lace etc. have a small supplement.
* On the fabric product page, you would need to confirm the name (title) of your dress model, e.g. “Cocktail 1” before adding the product to your cart. When placing your order, make sure to have 2 items in your cart, one for your dress model and one for your fabric, even if the fabric can be at zero cost.
If you are unsure about your choices, you can order design mockups before deciding.
Create your Size Profile, taking the measures below.
* As your Size Profile is used for all types of garments, we recommend to take all 20 measures.
* It takes about 5 minutes. Unless you change your size, you only need to take the measures once.
* If you are buying a self-made garment for the first time, save your Measures in your “Account Details” before placing your order. For your next orders, you can modify them at any time.
* If you are a returning customer, your stored profile measures will automatically apply to each garment you order. Our tailors will use the measures (out of the 20 measures) which are required for your chosen dress model.
* If you want it somewhere to be wider than the model in the picture, add some centimeters (inches) and the dress will larger accordingly. Remember to change back to your standard measures for your next order.
How to take measures

Take a soft meter and measure without tightening, wearing your usual underwear.
- Around the neck
- Collar stand to waistline, across the bust
- Collar stand to bust point
- Around the upper chest, under the armpits
- Around the bust
- Around the underbust (rib-cage)
- Around the waist, 3cm (1.2in) above the navel
- Around the hips (at the widest part)
- Waistline to hips
- Hips to mid-knee
- Mid-knee to floor (without shoes)
- Around the armpit (arm hole)
- Top shoulder end to wrist
- Collar stand to shoulder end
- Shoulder end to shoulder end, across the back
- Around one upper arm (at the widest part)
- Back neck (top neck bone) to waistline
- Waistline to just below the bottom
- Around one thigh (at the widest part)
- Around one calf (at the widest part)
And indicate your Bra Cup size (small, medium, large)